Welcome to my blog

Im exploring aspects of mehndi,designs,techniques,significance,function and historical background. I incorporate patterns that are either modern and traditional,Indian or Arabic into contemporary jewellery.


Showing posts with label wax impressions. Show all posts

15 August 2012

wax elements with batik tool

figure 1


figure 2

figure 3

figure 1,2,3 shows the tree built with the moulded elements
figure 4

figure 5

figure 6

figure 4,5,6 shows the casted elements linked together making a beautiful chain

draped head accessory

figure 1

figure 2

Initially when I design this head piece, the main idea was for the elements to look like chain. Figure 1 and 2 shows the initial design of the elements.

 figure 3

figure 3 shows the elements that were made by forging wire and soldering balls together with a jumpring at the ends as to attach to each other. These were all made individually by hand and no casting included,this was taking a long time to make. The connection between the two elements were quite weak because there were to many solder joints.

figure 4

figure 4 shows a different element that might work better. I want to use the batik wax tool to draw the pattern so that it is delicate and detailed.
figure 5

figure 5 shows the final element that im going to attempt drawing with the batik tool

02 August 2012

bridal head accessory

this was a picture given to me by my cousin who is getting married and wants two bridal head pieces. she also asked if i could add my mehndi touch to i and tweak it so that it looks like its mehndi-like.
these were my designs.

some patterns were of Roome's were similar to that of the picture reference given to me by my cousin
Roome 1998:36

Roome 1998:39

Roome 1998:44

Roome 1998:47

using wax rolling worked well for these small elements

i aslo spend one entire day piercing this one element and filing it and sanding it to make it perfect so that i could make a mould of them and cast.


and my hand pieced flowers. lloks like everything is slowly coming together.

wax and water

so another option for drawing with wax on a non-stick surface besides silicone would be water,it will be exciting to see what comes out of this experiment.

 The water just pulls the liquid wax out of the wax tool,it does this in both hot and cold tap water but its alot faster in cold water.at first i thought its beacuse the wax was too liquid but then i waited for it to slightly cool and the it just makes blobs that wont stick togther because of the water.

beautiful flower/star and fan shapes began to appear created by the water drawing out the wax from the tool.


although this technique makes beautiful shapes by chance this technique will never work to create detailed mehndi patterns.


wax recipes

now that i have my tool that works for drawing wax, i need to figure out how to prevent my wax from breaking?

my options are to mix other harder waxes so that the besswax is not so soft and sticky which allows it to break easily. on the other hand I could spray it with laquer or vanish in that way it will be sealed with hardness. The best wax i think is suitable for using is jewellerty casting injecting wax because these are cast and are not delicate and brittle. how ever i think it cools too quicly and is quite hard so i mixture with both beeswax and injecting wax might work well.


previously I used lunch paper/wax paper and tracing paper as my non stick surface to work on. Now im using silicone to draw on since wax doesnt stick to silicone. beeswax alone is way too sticky to use onto silicone because it does stick, I had to use a lubricant which worked well,my peices came off without a struggle.
this is my wax test pieces

STEP 1 : I tried 100% beeswax,keeps liquid for longer in my copper batik tool,it therefore has enough heated wax to complete a small pattern. beeswax sticks onto surface.its difficult to remove as opposed to the following wax mixtures

STEP 2 : I now tried using 3/4 beeswax and 1/4 injecting wax,cools slightly qicker than beeswax alone. I noticed that I had to re-heat the wax tool more often. its easier lifted off the silicone as opposed to beeswax,which means its getting better i should continue mixing more injecting wax.

STEP 3 : 1/2 beeswax and 1/2 injecting wax. Cools quickly,works very well to make little blobs,it lifts off the silicone very easily and the pattern doesnt break easily when handled.

STEP 4 : 3/4 injecting wax and 1/4 beeswax. the wax cools very quickly have to re-heat the tool very often. Makes beautiful blobs when worked in its almost cooling form. Lifts off very easily off the lubricated silicone and doesnt break easily.

STEP 5 : 100% injecting wax.wax is cooled extremely fast,you have to work fast and re-heat the tool approxmatly every minute.lifts off the lubricated surface very easily also doesnt break that easily.

I found using step 4 mixture works best because I now know that the injecting wax works beat but the only problem is that the wax is hard and cools quickly so if theres a small percentage of beeswax in the mixture it will slow down the cooling process and will work as good as injecting wax alone in ways that its hard and lifts off the silicone easily which means it wont break when handled. which makes it good enough for investing and loat wax casting

these are 75% injecting wax and 25% beeswax that worked well to make these detailed patterns.

casting wax elements

I decided to cast the wax elements although they were breaking as i was building my tree,the idea was to see how they cast and if they do, then this is an achievement because ive come to stage whereby i got a tool that i can use to do mehndi out of wax just need to practise using the tool.


I casted in copper because these were test pieces and i have many copper bowls that were given to me and intentionsions of being mellted. the patterns casted with a porris rough texture,this colud of been because i used old metal that probably had other metals in it, ive come to this conclusion because when i was melting the copper my metal was poping everywhere.


18 July 2012

mehndi with wax

this was really soft beeswax used for waxing shoes, I put pieces of wax into the cone and melted it in the microwave.
as the wax began to melt it started flowing towards the tip. I cut a small hole at tyhe tip and began creating designs,the wax has to be inbetween melting and cooling point to create these patterns. I noticed if its too liguid it spills everywhere when squeesed. if it to cold the wax that comes out of the tube starts curling into the air,it doesnt stick to the surface being worked on. The cone also becomes difficult to squeeze.

18 June 2012

Charlotte Larsen Jewellery


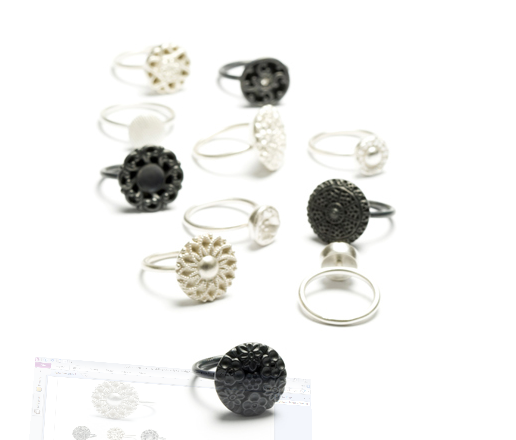
Larsen calls her work floral.I see mehndi patterns in them.I like her rings she used cast buttons,im thinking off making my own range of mehndi buttons to make rings earrings etc.

09 May 2011

vetkat jewellery

I decided that I would do wax impressions because for the previous exhibition I used the same technique and I enjoyed working in wax.The pieces were not flat,It made the piece look much more interesting as opposed to piercing out from flat plate.

I had pierced out the patterns I like into brass plate.....these plates we used previously for embossing in making prints for the exhibition.Although it was the same patterns,the pieces I designed are very different from the pieces I made last year.

03 February 2011

Local is lekker

18ct and sterling silver earrings,inspired by Mendhi designs


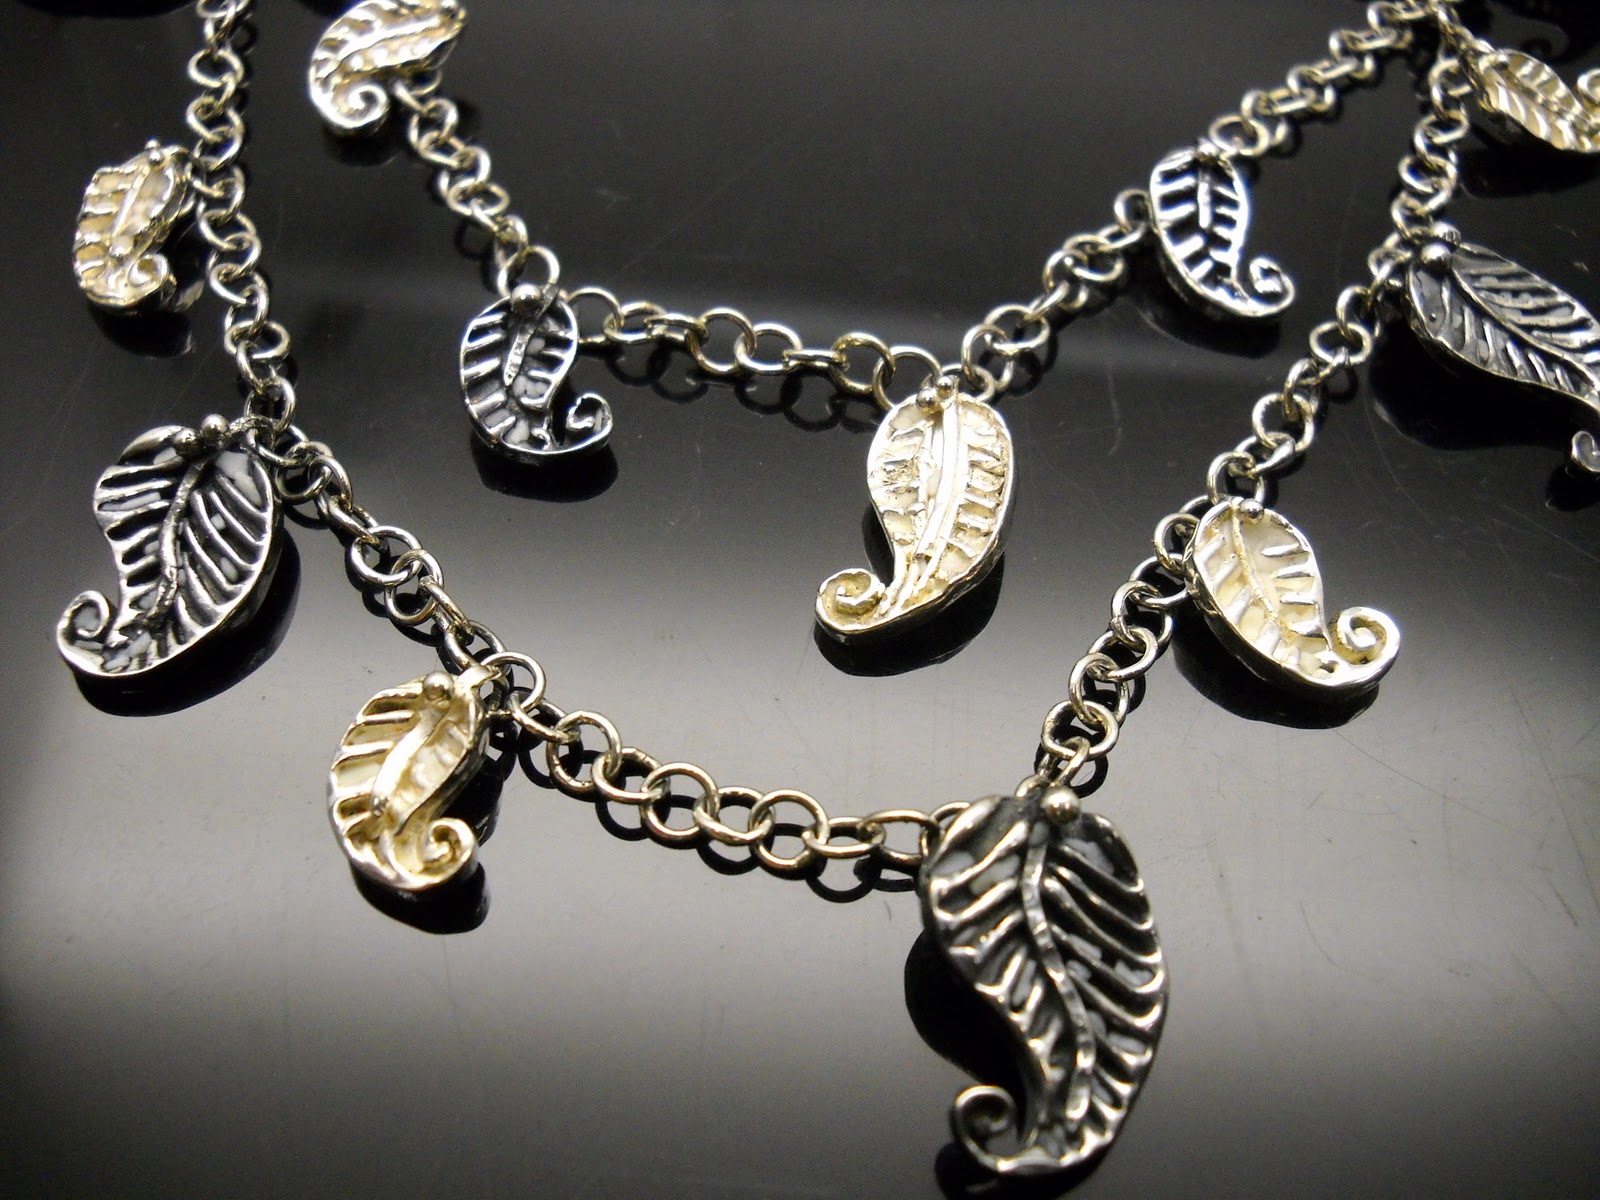
sterling silver neckpiece,pierced and cast elements

sterling silver pierced flower found on neckpiece


the cast elements,initially created from wax empressions

The hidden catch of the neckpiece

Each individual link attached